So, you're thinking about an office shed. Good call. With more folks working from home these days, and Seattle's housing market being what it is, adding a dedicated workspace in your backyard makes a lot of sense. It's not just a shed; it's your quiet zone, your creative space, your escape from the kitchen table. But before you grab a hammer, let's talk about what goes into making that dream a reality.
Before You Even Think About Lumber
First things first: zoning and permits. This isn't the fun part, but it's absolutely critical. In Seattle, you can't just plop a structure down wherever you want. You'll need to check with the Seattle Department of Construction & Inspections (SDCI). They'll have rules on setbacks from property lines, maximum height, and how much of your lot you can cover with structures. Generally, if your shed is under 120 square feet and not connected to utilities, you might be able to skirt a full building permit, but you'll still need to follow zoning rules. Go bigger, or add power and plumbing, and you're definitely into permit territory. Don't skip this step; fines and forced demolition are no fun.
Next, think about utilities. Do you need power for your computer, lights, and a heater? What about internet? Running an electrical line from your house to a detached shed isn't a DIY job for most folks. It involves digging trenches, proper conduit, and connecting to your main panel, which is definitely a job for a licensed electrician. Same goes for plumbing if you're dreaming of a tiny bathroom or a sink. Water and sewer lines are a whole different ballgame and usually require permits and professional installation.
Finally, consider your site. Is it level? What's the drainage like? Seattle's often damp climate means you need good drainage around your shed to prevent rot and moisture issues. If your yard slopes or has poor drainage, you'll need to address that with grading or a proper foundation. You don't want your new office sitting in a puddle every winter.
During the Build: DIY or Pro?
Okay, you've got your permits (or confirmed you don't need one), and you know where it's going. Now for the build. This is where you really need to be honest with yourself about your skills.
- Foundation: A solid foundation is non-negotiable. For smaller sheds, a gravel base with pressure-treated skids or concrete blocks can work, especially if you're not connecting utilities. But for anything larger, or if you're dealing with Seattle's clay soil, a concrete slab or pier foundation is often the way to go. Pouring concrete correctly, especially with rebar, takes some know-how. If you're not confident, hire a concrete crew. It's not worth cutting corners here.
- Framing: If you've got basic carpentry skills – can read plans, cut straight, use a level and a square – framing a simple shed isn't beyond reach. It's essentially building a small house. But if your walls aren't plumb or your corners aren't square, everything else will be a headache. Don't be afraid to get help from a friend who knows their way around a tape measure.
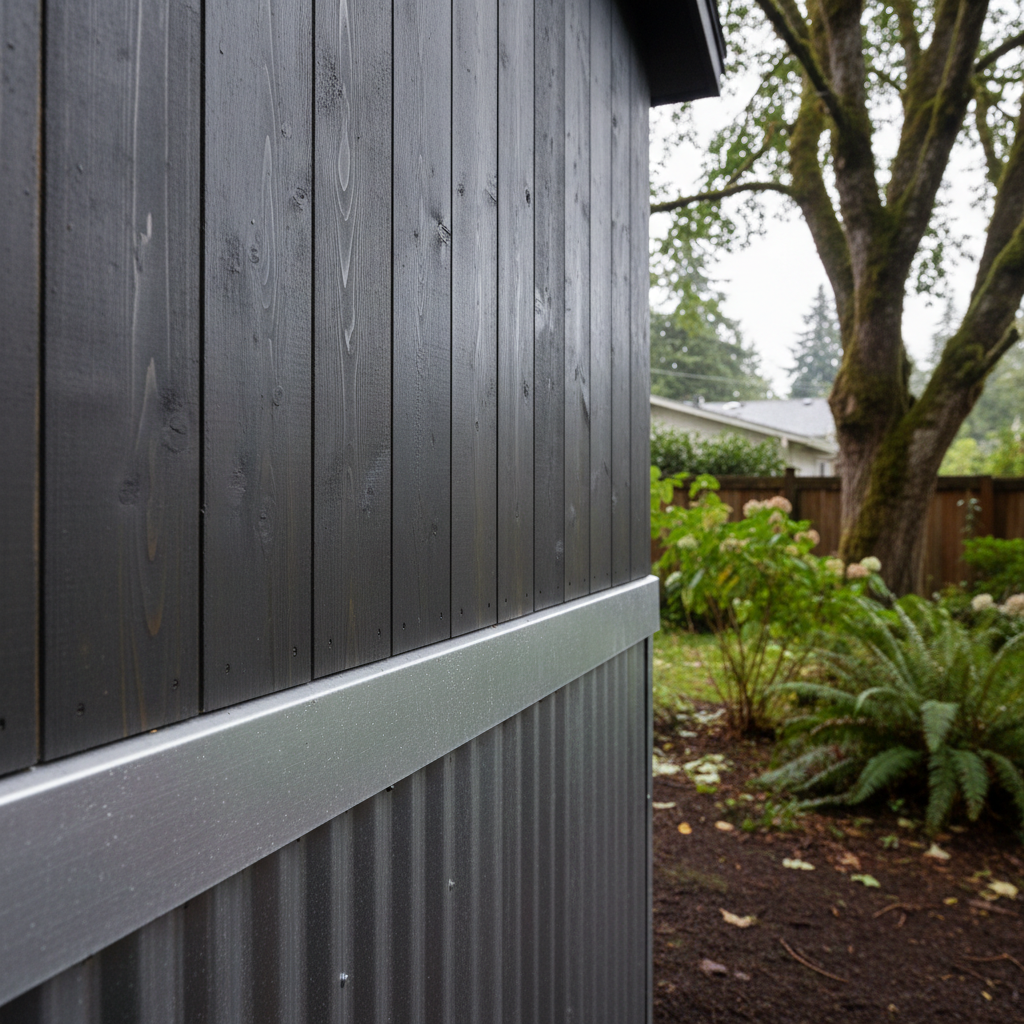
- Roofing: This is another area where DIY can save you money, but mistakes can be costly. Shingles, metal, or a rubber membrane – pick your poison. The key is proper flashing and sealing to keep our notorious Seattle rain out. If you're not comfortable on a ladder or don't know how to properly overlap shingles, a professional roofer is a smart investment.
- Siding and Windows/Doors: This is generally more forgiving for DIYers. Installing siding (T1-11, cedar, fiber cement) is pretty straightforward, as is putting in pre-hung windows and doors. Just make sure everything is plumb, level, and properly sealed against moisture.
- Interior Finishes: Drywall, paint, flooring – this is where most homeowners can shine. If you've done any home renovation, you can probably handle the interior. Just remember to insulate properly for year-round comfort.
For bigger, more complex builds, or if you just want it done right without the stress, that's where companies like Seattle Shed Builders come in. We've built enough of these to know the ins and outs, from navigating permits to making sure your roof doesn't leak during a November downpour.
After the Build: Making It Yours
Once the structure is up and sealed, the fun really begins. Think about how you'll use the space. Good lighting is crucial for productivity. Consider task lighting for your desk and ambient lighting for the overall space. Heating and cooling are also important. A small electric heater or a mini-split heat pump can make your office comfortable year-round. Don't forget about ventilation, especially if you're in there for long stretches.
Landscaping around your shed isn't just for looks; it helps with drainage and can protect your investment. Keep plants away from the foundation, and make sure water flows away from the structure. A nice pathway can also make your commute to work feel a little more official.
An office shed is a fantastic addition to any Seattle home. It adds value, provides a dedicated workspace, and can be a real game-changer for your work-life balance. Just make sure you do your homework, know your limits, and don't hesitate to call in the pros when you need 'em. You'll be glad you did when you're enjoying your quiet, productive sanctuary.